You only need a few basic ingredients such as butter, water and of course the leftovers from fresh cannabis to create unique cannabis butter! After the harvest, especially if you're not an experienced grower, there's often a lot of matter left over that isn't suitable for smoking but can be used in other ways. Hemp butter is a great product, thanks to which we will be able to create both desserts, as well as dry dishes with a specific aroma. Contrary to appearances, its preparation is not at all difficult!
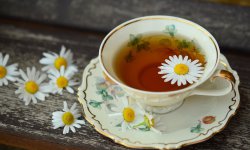
Hemp butter
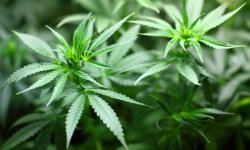
What to do with a lot of stalks, leaves and other parts of the plant?
Definitely not throw it away! Every part of the cannabis plant contains valuable cannabinoids such as CBD or THC. So it's not worth getting rid of such goodness just because you can't take it in a traction way. One way to use cannabis leftovers is to create hemp butter from them. Depending on the products we choose, we can get really powerful, even compelling effects! So we will write how to produce "strong" butter at home step by step!
What do you need?
Ingredients
- 14g of good cannabis tops (choose the quality you like) 28g of tiny toppings, grinds and leaves (e.g. leftovers from trimming the tops) 250g of butter (preferably salted - it has a higher melting point) 300ml of water (plus about 50ml for every hour of stewing)
Tools
- 1x cooking pot (a deep frying pan will also work well) 1x sharp knife (you can use a blender for quick results) 1x stove (even a travel stove works well) 1x thickly woven cloth (or other material that allows for thorough filtration) 2x 250g containers (can be glass or plastic, just make sure they are temperature resistant) The whole process will take from 8 to even 24 hours (depending on how strong you want the mixture).
STATEMENT: YOU EXPERIMENT AT YOUR OWN RISK!
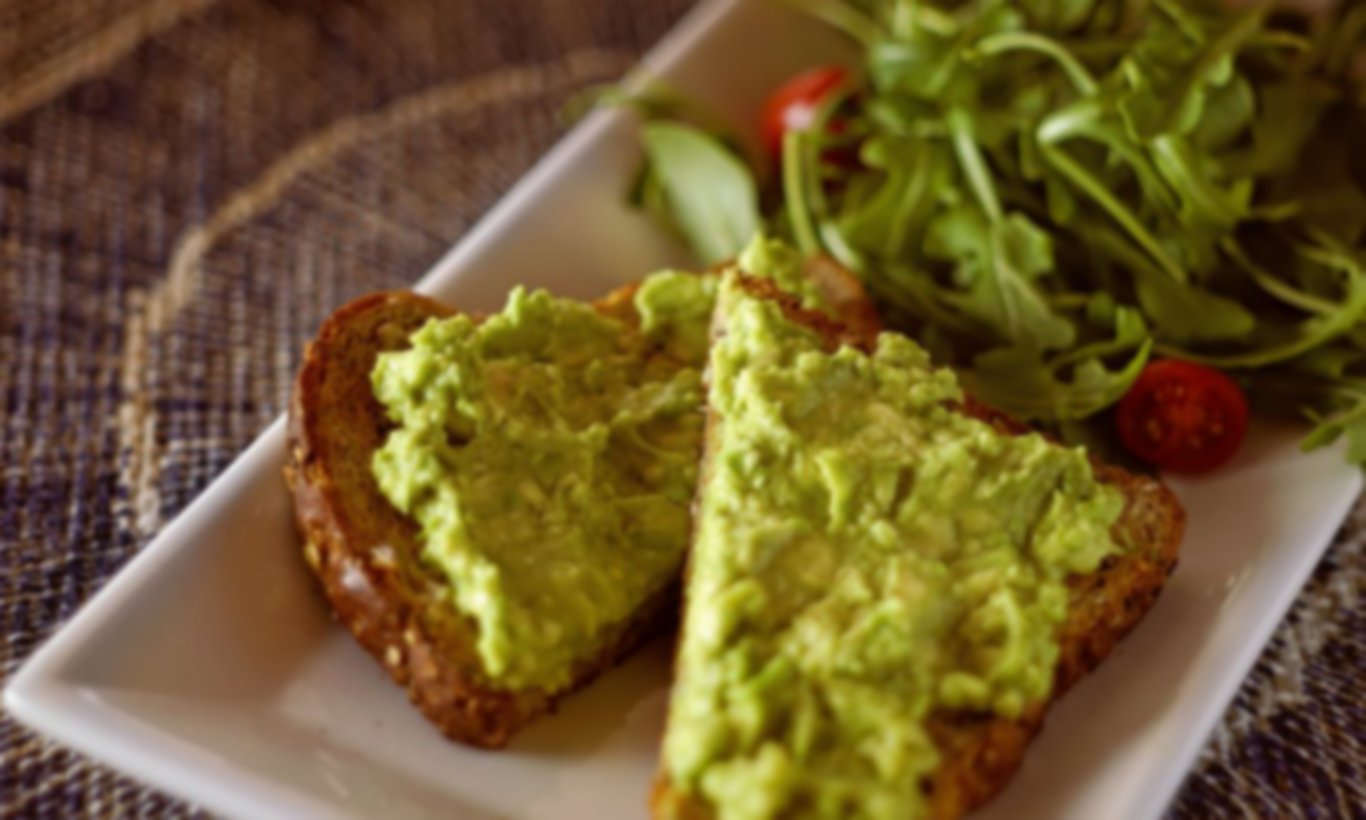
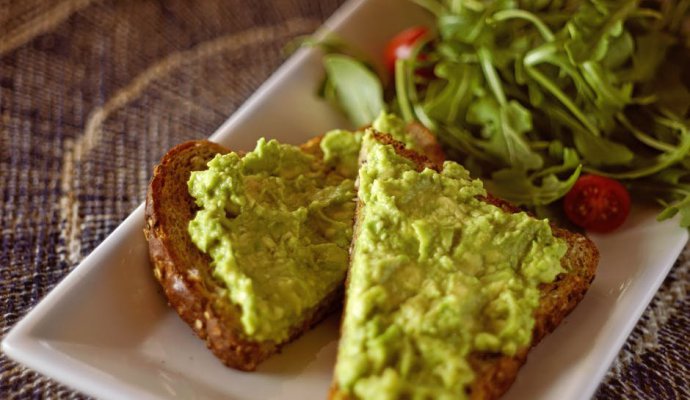
Butter
Proportions are important!
This recipe is intended to yield a very strong and flavorful butter. There is a great deal of cannabis in it, so increasing the dosage is not recommended. You can easily reduce it or use cannabis strains with low THC concentrations. Reducing the cannabis material is recommended especially if this is your first experience with making butter or any other cannabis-based edible.
When making cannabis butter you will notice that, contrary to appearances, there is much less plant material than fat and water. However, do not underestimate the amount of compounds that are in the discarded matter. Let's be responsible and not experiment, thus endangering our health. The effects that can be expected after consuming hemp butter also do not occur immediately. Sometimes you have to wait even 3 hours, but once you are under the influence of cannabis, it will be very noticeable. So don't eat too much just to rush the effect. There is a potential risk of experiencing feelings of doubt, anxiety and paranoia when consuming a large dose of such strong butter. When this happens, try to relax and remember to have friends or other trusted people with you during your first experience with edible cannabis products so that they can reassure you if you have any problems.
After consuming even a small amount of the described hemp butter, you cannot use any heavy machinery, including cars. The high effect can last up to 8 hours and has a strong effect on our skills, which are necessary to operate any kind of machinery. We may even have trouble using a microwave oven, and that says a lot about the strength of the butter in our recipe.
After all these warnings (we hope everyone has taken them deeply to heart!) we can get down to cooking.
STAGE 1 - cooking location, buying ingredients, chopping
Choosing the right location is pretty key. Keep in mind that there will be a strong cannabis aroma wafting throughout the apartment and surrounding areas while cooking. If we don't have a strong odor absorber, and we don't find people in our block who would approve of our homemade production, it's better to give up on making butter in the family kitchen. Opening the windows will help us not to stupefy ourselves while making butter, but for sure the smell coming out will arouse the interest of the neighbors.
Let's choose the necessary ingredients. After the harvest, we are sure to have a whole stock of them. Let's not be greedy and let's not throw every stalk into the pot - we need to act sensibly. Chop the prepared matter finely. Definitely the easiest way to do this is with a blender. Put the ingredients into a bowl.
STAGE 2 - melting butter
In general, there are two variables that lead to success when making butter: the right temperature and time frame.
In order to preserve as much THC and and other cannabinoids in the butter as possible, cooking should be done over minimal heat and last as long as possible without boiling.
If we get too aggressive with our butter we will burn all the valuable ingredients and all our efforts will be in vain.
Now it's time to melt 250g of butter in 300ml of water. Pour the water into a pot and heat it slowly. When it's warm, not boiling, add the butter. Wait until it has completely melted and turns into a yellow liquid. At all times control the temperature - it should not come to a boil.
STAGE 3 - adding plants and slow cooking
Now we are waiting for the most important stage. To the warm liquid we add prepared plants. This recipe was designed so that after 8 hours of simmering you get a strong butter.
If you have time, you can extend the cooking time to 24 hours - it's worth it - then you get a really extremely strong butter ????
You should also check if there is enough water to be able to immerse the whole plant raw material without any problems. This is important to get the most THC and cannabinoids as possible. Once you have thrown in the cannabis matter you can walk away from the pot and only add 50 ml of water every hour to replenish the fluids. We should not cover the pot with a lid. Don't be scared by the initial amount of water - after a few hours there will only be butter with cannabinoids at the bottom.
Remember to monitor the temperature at all times. The easiest way to do this is to look at the surface of the butter. If you notice tiny, one millimetre thick bubbles on the surface, this is a good sign. They should remind us of the ones that form when boiling water before it comes to a boil.
After 8 hours of cooking at low temperature, most of the work is done! Although at this point the mixture doesn't look like butter, but more like a thick, dark soup, all you have to do is drain everything to get a clean spread!
White butter
STEP 4 - filtration, transferring to containers, cooling
To thoroughly filter the mixture just pour it through a cheese cloth (I don't know if that's what it's called in Polish, anyway it's called a cheese cloth), the same as you use for draining e.g. cheese.
Cheese cloth
Place the sieve in a larger container and pour the contents of the pot through it. The plant parts will settle on the cloth and the liquid butter will go into the container. The residue remaining on our strainer can be discarded.
Now it's enough to pour the butter into previously prepared containers, preferably sterile clean - it will prolong the expiry date.
When the butter thickens there may be some brown water left on top, just pour it away.
Enjoy!